
Introduction
Digital products rock!
With a few days of work, I can download part of my expertise into a digital format, open my shopping cart, and start generating a profit for every unit purchased.
This does not mean that creating a digital product is easy. There are several moving parts. However, it’s not a complicated process. Moreover, few activities have such a high payoff compared to the short amount of time invested.
In this post, I want to break down the fast track option for quickly developing a digital product.
Here is the outline of what I’ll cover:
- Types of digital products you can create
- The 3 x 3 method for quickly creating your content structure
- Creating your presentation
- Creating a workbook for the retention of the material
- The simple tech for recording your course
- Recording your course
Types of digital products you can create
Digital products come in all shapes and sizes. This includes e-books plus video, audio, and written courses.
For a video course, these are two options:
- Talking head and presentation – You appear on-screen (or in the corner) and talk over a presentation.
- Presentation with audio – You talk over a presentation but do not appear on the screen.
The first option is intimidating for most folks, and more complex to produce. Thus, we’ll concentrate on creating the second type of course.
If you prefer to create a written or audio course, simply adapt the principles as needed. One medium is not better than another despite what the gurus say.
For example, two of the most prolific marketers today (Ben Settle and Andre Chaperon) have sold in the seven figures primarily via the written word. Also, when I sold my courses, I only appeared on video in the promo, but nowhere in the course lectures.
Remember this.
Your compelling solution is WAY more important than the medium in which you deliver your product.
The 3 x 3 method for quickly creating your content
What is your solution / transformation?
Let’s start with the most important question for creating a compelling digital product:
What is the solution or the transformation that your product provides?
It is important to think of your solution as providing a transformation that helps your audience move from one state to another.
Your goal is not just the transfer of information. Rather, your objective is to produce a change (more stamina, leads, confidence, or joy), a new outlook, or a newly gained skill to help your audience.
This is your simple transformation formula:
I help [this group of people] achieve [this concrete solution / transformation].
Make it clear and concrete.
- I help writers sell their first 1,000 copies of their book.
- I help social media influencers convert their best followers into omni-channel subscribers.
- I help first-time home buyers navigate the complexities of acquiring a mortgage.
Then, add a few descriptors to the formula including a time period and your unique mechanism for achieving the overall solution.
The 3 x 3 method
The 3 x 3 method is a way to break down your course content into bite-sized and logical components. The framework is to divide your solution into three phases, and then add three steps per phase.
Your three-phase solution / transformation
In order to solve any problem or acquire a new skill, it is useful to think in terms of a foundation phase, a build phase, and a growth phase.
For example, learning to play the guitar would fit this structure:
- Foundation – The basics such as tuning, hand position, and chords
- Build – Basic songs and strumming
- Growth – More advanced songs, chords or strumming techniques
Thus, your first step is to break down your solution / transformation into three phases.
Three steps per phase
Next, you want to break down the completion of each phase into three steps. Here, it is useful to list every possible task. Afterward, sort through the list and combine steps to arrive at three steps per phase.
This will allow you to graphically display your course using our roadmap:

IMPORTANT: If you feel that the 3 x 3 method doesn’t fit your topic, then adjust it to your needs. The method is a useful tool with many advantages. But it’s not the only way to outline your content.
For example, in a course I previously sold, I divided the content into seven rules to better interpret scripture.
Outlining your content
It is now time to create an outline of your content. Take out a piece of paper and jot down a description for the following components:
- Introduction to your course – Introduce yourself as the instructor, your credentials and solution, and the framework for your course (your 3 x 3 matrix or custom structure).
- Introduction to each phase – Describe each phase and the outcomes. An easy way to do that is to say: by the end of this module you will be able to x, y, or z.
- Process for completing each step in each phase – This is the meat of your course. Describe the ideas and the process for completing each step of each phase.
- Conclusion and next steps – Review of important ideas and instructions for further study. Here you can point to your other content or different resources to deepen your students’ knowledge of the topic.
Scripting your content
Now organize your previous work and create a brief script for your content. Your phases will become modules, and your steps will become lessons for each module.
NOTE: It is not necessary to script out your content word for word (unless you find that useful).
Title each section so we know what it’s about based on your topic.
- Introduction
- Module 1
- Lesson 1
- Lesson 2
- Lesson 3
- Module 2
- Lesson 1
- Lesson 2
- Lesson 3
- Module 3
- Lesson 1
- Lesson 2
- Lesson 3
- Conclusion and next steps
If you have gone through this process, you will end up with fourteen separate scripts.
Creating your presentation
Here is the fast track option for creating your presentation.
- Create one title slide for your introduction and conclusion.
- Take your fourteen scripts (or however many you have) and create one title slide per script. Remember, some will be module slides, and others step slides. You can differentiate the two for variety by reversing background and text colors.
- Now add 2-3 slides that support / explain each step slide. These can be text, image, graphic, or a combination of all three.
Here are the most important considerations when creating slides:
- Keep them simple – You want two colors and no long-form text.
- Keep them moving – You don’t want to spend a lot of time explaining each slide (unless it’s a graphic or a simple bullet slide). Your voice should carry the explanation and detail, not the slide.
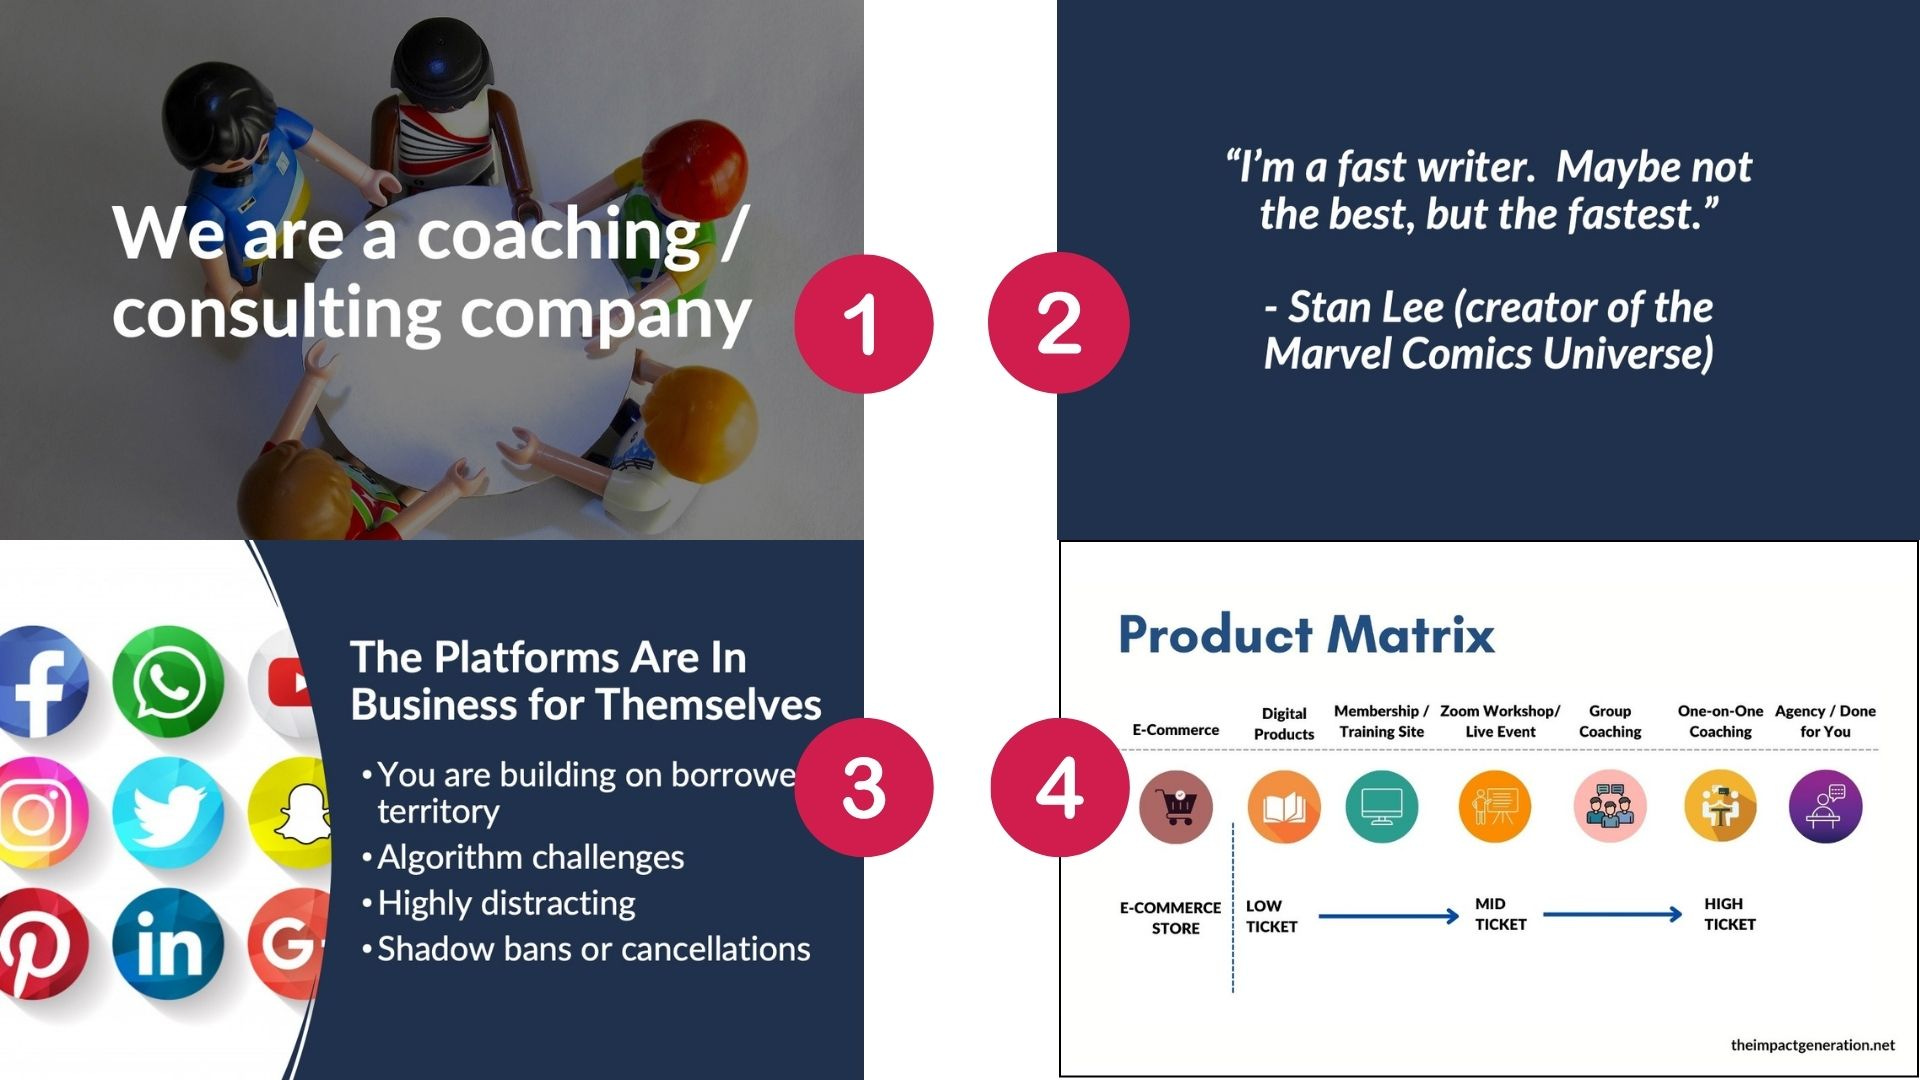
My favorite types of slides are:
- Image with brief text to support the script
- Single quote to communicate one idea or curious fact
- Bullet slide with image and no more than four brief bullet points
- Graphic slides
Creating a workbook for the retention of the material
To improve the success rate with your product (which results in happier customers who tell others), you should develop a workbook.
For each lesson, a workbook contains:
- A summary to help your students review the material
- Worksheets to help your students complete certain tasks based on your content
- A plan of action to signal what steps a student should take in order to apply the material in each lesson
For example, in our signature solution, the first step is to know your audiences which includes knowing several demographic and psychographic elements.
Our workbook would include a fill-in-the-blank worksheet to help complete this step:

Here’s an example of the Action Steps at the end of a Gillian Perkins workbook. (She rocks by the way.)

There is no rocket science to this component.
Take your script, and review all of the places where a worksheet would be appropriate, then create one. At the end of each lesson, indicate the action steps your students should take to put each lesson into practice.
The simple tech for recording your course
Here is the tech you’ll need to record a high-quality video course you can be proud to promote.
- Microphone – Do not use your Airpods or computer microphone. (We recommend the Blue Yeti for Creators or similar.)
- Screen capture software to record your screen. (We recommend either Camtasia or Screenflow (for Macs) or similar).
NOTE: If you prefer to be on camera, then we recommend the Logitech HD Webcam and any inexpensive lighting kit to remove the shadows cast by overhead lights.
One more thing.
Do not spend a huge amount of time looking up reviews and stressing out about your equipment. That’s why I gave you our recommendations. Purchase what has already worked then make adjustments later.
Remember this:
Your equipment / software is secondary to the quality of your content, and specifically, whether your solution / transformation is compelling to your audience.
Recording your course
This is the most time-consuming part of product creation. I would suggest you spend a full day without interruptions and just get it done.
To record:
- Cue up one presentation at a time (for intro, each module, each step, and conclusion).
- Place your script outline nearby. If you have an iPad, that works great so you don’t hear the shuffling of papers.
- Quickly review your slides to familiarize yourself with the content.
- Connect your microphone.
- Fire up your screen capture software and run a 15 second test to ensure your microphone is working properly.
- Hit record, and walk through each slide in your natural voice, using your script (and your expertise). If you mess up, clap loudly (so it’s easier to edit later), wait one second, and continue.
- Edit your videos as needed. The claps will be very visible on your sound channel so you can remove the big mistakes.
Recording a course, like any other skill takes practice. If you are not happy with the results, delete the recording and do it again. If you flub up in a minor way, just keep going. No one is expecting to hear a robot.
Above all, silence your inner perfectionist for this project. My hope is that your enthusiasm and expertise will shine through and cover over any minor mistakes.
Conclusion
We’ve covered much ground. I wanted to include a section on your sales funnel and the best platforms on which to publish your course. But those will have to wait for another post.
In the meantime, the next step is yours.
I would encourage you to reread this issue and then take action. In one weekend, you can generate an asset that will start to pay huge dividends for you, now and in the future.
Here’s to your success!
Gustavo

Thanks for reading The Impact Generation! Subscribe for free to receive new posts and support my work.
NOTE: This article contains affiliate links to different resources. We receive a commission for anything you purchase through these links.